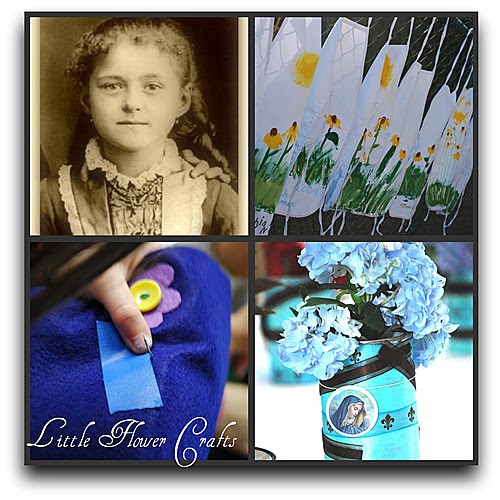
These ribbon-embellished containers made cheerful, beautiful centerpieces
at our tea party...
Here's how to make them:
Materials:
- metal rim key tags- ours were 1 1/4 in.
- ribbon (see photo collage below for widths- all purchased at Michael's in 2010)
- stretchy cord (we used silver from Michael's)
- double-sided tape
- empty cans (15 oz.) **use a can opener which leaves a smooth, safe rim (Pampered Chef has a great one)
- glue (we used Tacky Glue)
click on collage for larger view
prep work/set-up:- collect cans: we asked moms to bring in pre-washed cans
- pre-cut ribbons: as many as desired to fit around can, plus one ribbon per can to span from top to bottom (I used a rotary cutter- you could ask a mom to help with this)
- placing double-sided tape on seam of can is a time-saver, otherwise, pre-cut those and put them on the edge of a table or tray so the girls can place the tape quickly without having to wait for tape.
- pre-cut stretchy cord, and thread through blank tags. Tie the ends so the girls merely slip the corded tag around the can.
- pre-cut tags (if your girls are good cutters, you could let them cut out their circles- don't forget to add scissors to your materials list!). I had a handy Creative Memories circle cutter that made quick work of the tags.
Place double-sided tape along seam of can
( if you are using no-seam cans: just place tape from top to bottom anywhere on the can)
Line up edge of ribbon on seam...
Apply glue- use 2-3 small dots, either on the ribbon, or directly on the can.
Repeat with each ribbon.
Here is the back with all the ribbons lined up...
we'll cover that unfinished seam in a sec.
we'll cover that unfinished seam in a sec.
The tape will be covered, so use small dots of glue on the ends.
*A handy hint: to be sure each girl holds the ribbon down long enough for the glue to set, remind them to count to ten ("silently, in your head"),
or better yet, pray a Hail Mary!
*A handy hint: to be sure each girl holds the ribbon down long enough for the glue to set, remind them to count to ten ("silently, in your head"),
or better yet, pray a Hail Mary!
Use one ribbon to cover the unfinished seam- apply glue and press gently.
(Sorry- no picture here...we used brown grosgrain)
----
----
Our girls created tags from key tags and stretchy silver cord.
A little glue on the back of each image, then applied gently to the key tag...
Our Lady on the front,
and St. Therese on the back...
Just slip the stretchy cord over the can, and...
Aren't those cheerful?
They sure make me happy :-).
This project could be adapted
and used for orderliness as well.
Below are some printable tags for you to use-
note that the St. Therese tag is a different image than the one on the can above.
Just click on the "cloud" with the down arrow to download.
*A printing tip- choose to print "page 1 of 1"-
there are 2 blank pages on each document.


